1. Getting data from the data warehouse#
ในส่วนนี้ของ workflow คุณจะได้เรียนรู้วิธีรับข้อมูลโดยการทำ HTTP requests ด้วย HTTP Request node
หลังจากทำส่วนนี้เสร็จแล้ว workflow ของคุณจะมีลักษณะดังนี้:
ขั้นแรก มาเตรียมฉากสำหรับการสร้าง workflow ของ Nathan กัน
Create new workflow#
เปิด Editor UI ของคุณและสร้าง workflow ใหม่ด้วยหนึ่งในสองคำสั่งที่เป็นไปได้:
- Select Ctrl+Alt+N or Cmd+Option+N on your keyboard.
- Open the left menu, navigate to Workflows, and select Add workflow.
ตั้งชื่อ workflow ใหม่นี้ว่า "Nathan's workflow"
สิ่งแรกที่คุณต้องทำคือรับข้อมูลจาก data warehouse เก่าของ ABCorp
ในบทก่อนหน้า คุณได้ใช้ action node ที่ออกแบบมาสำหรับบริการเฉพาะ (Hacker News) แต่ไม่ใช่ทุก apps หรือ services ที่มี dedicated nodes เช่น legacy data warehouse จากบริษัทของ Nathan
แม้ว่าเราจะไม่สามารถ export ข้อมูลได้โดยตรง แต่ Nathan บอกเราว่า data warehouse มี API endpoints สองสามตัว นั่นคือทั้งหมดที่เราต้องการเพื่อเข้าถึงข้อมูลโดยใช้ HTTP Request node ใน n8n
No node for that service?
HTTP Request node เป็นหนึ่งใน nodes ที่หลากหลายที่สุด ช่วยให้คุณสามารถทำ HTTP requests เพื่อ query ข้อมูลจาก apps และ services ได้ คุณสามารถใช้เพื่อเข้าถึงข้อมูลจาก apps หรือ services ที่ไม่มี dedicated node ใน n8n
Add an HTTP Request node#
ตอนนี้ ใน Editor UI ของคุณ ให้เพิ่ม HTTP Request node เหมือนที่คุณเรียนรู้ในบทเรียน Adding nodes หน้าต่าง node จะเปิดขึ้น ซึ่งคุณต้องกำหนดค่า parameters บางอย่าง
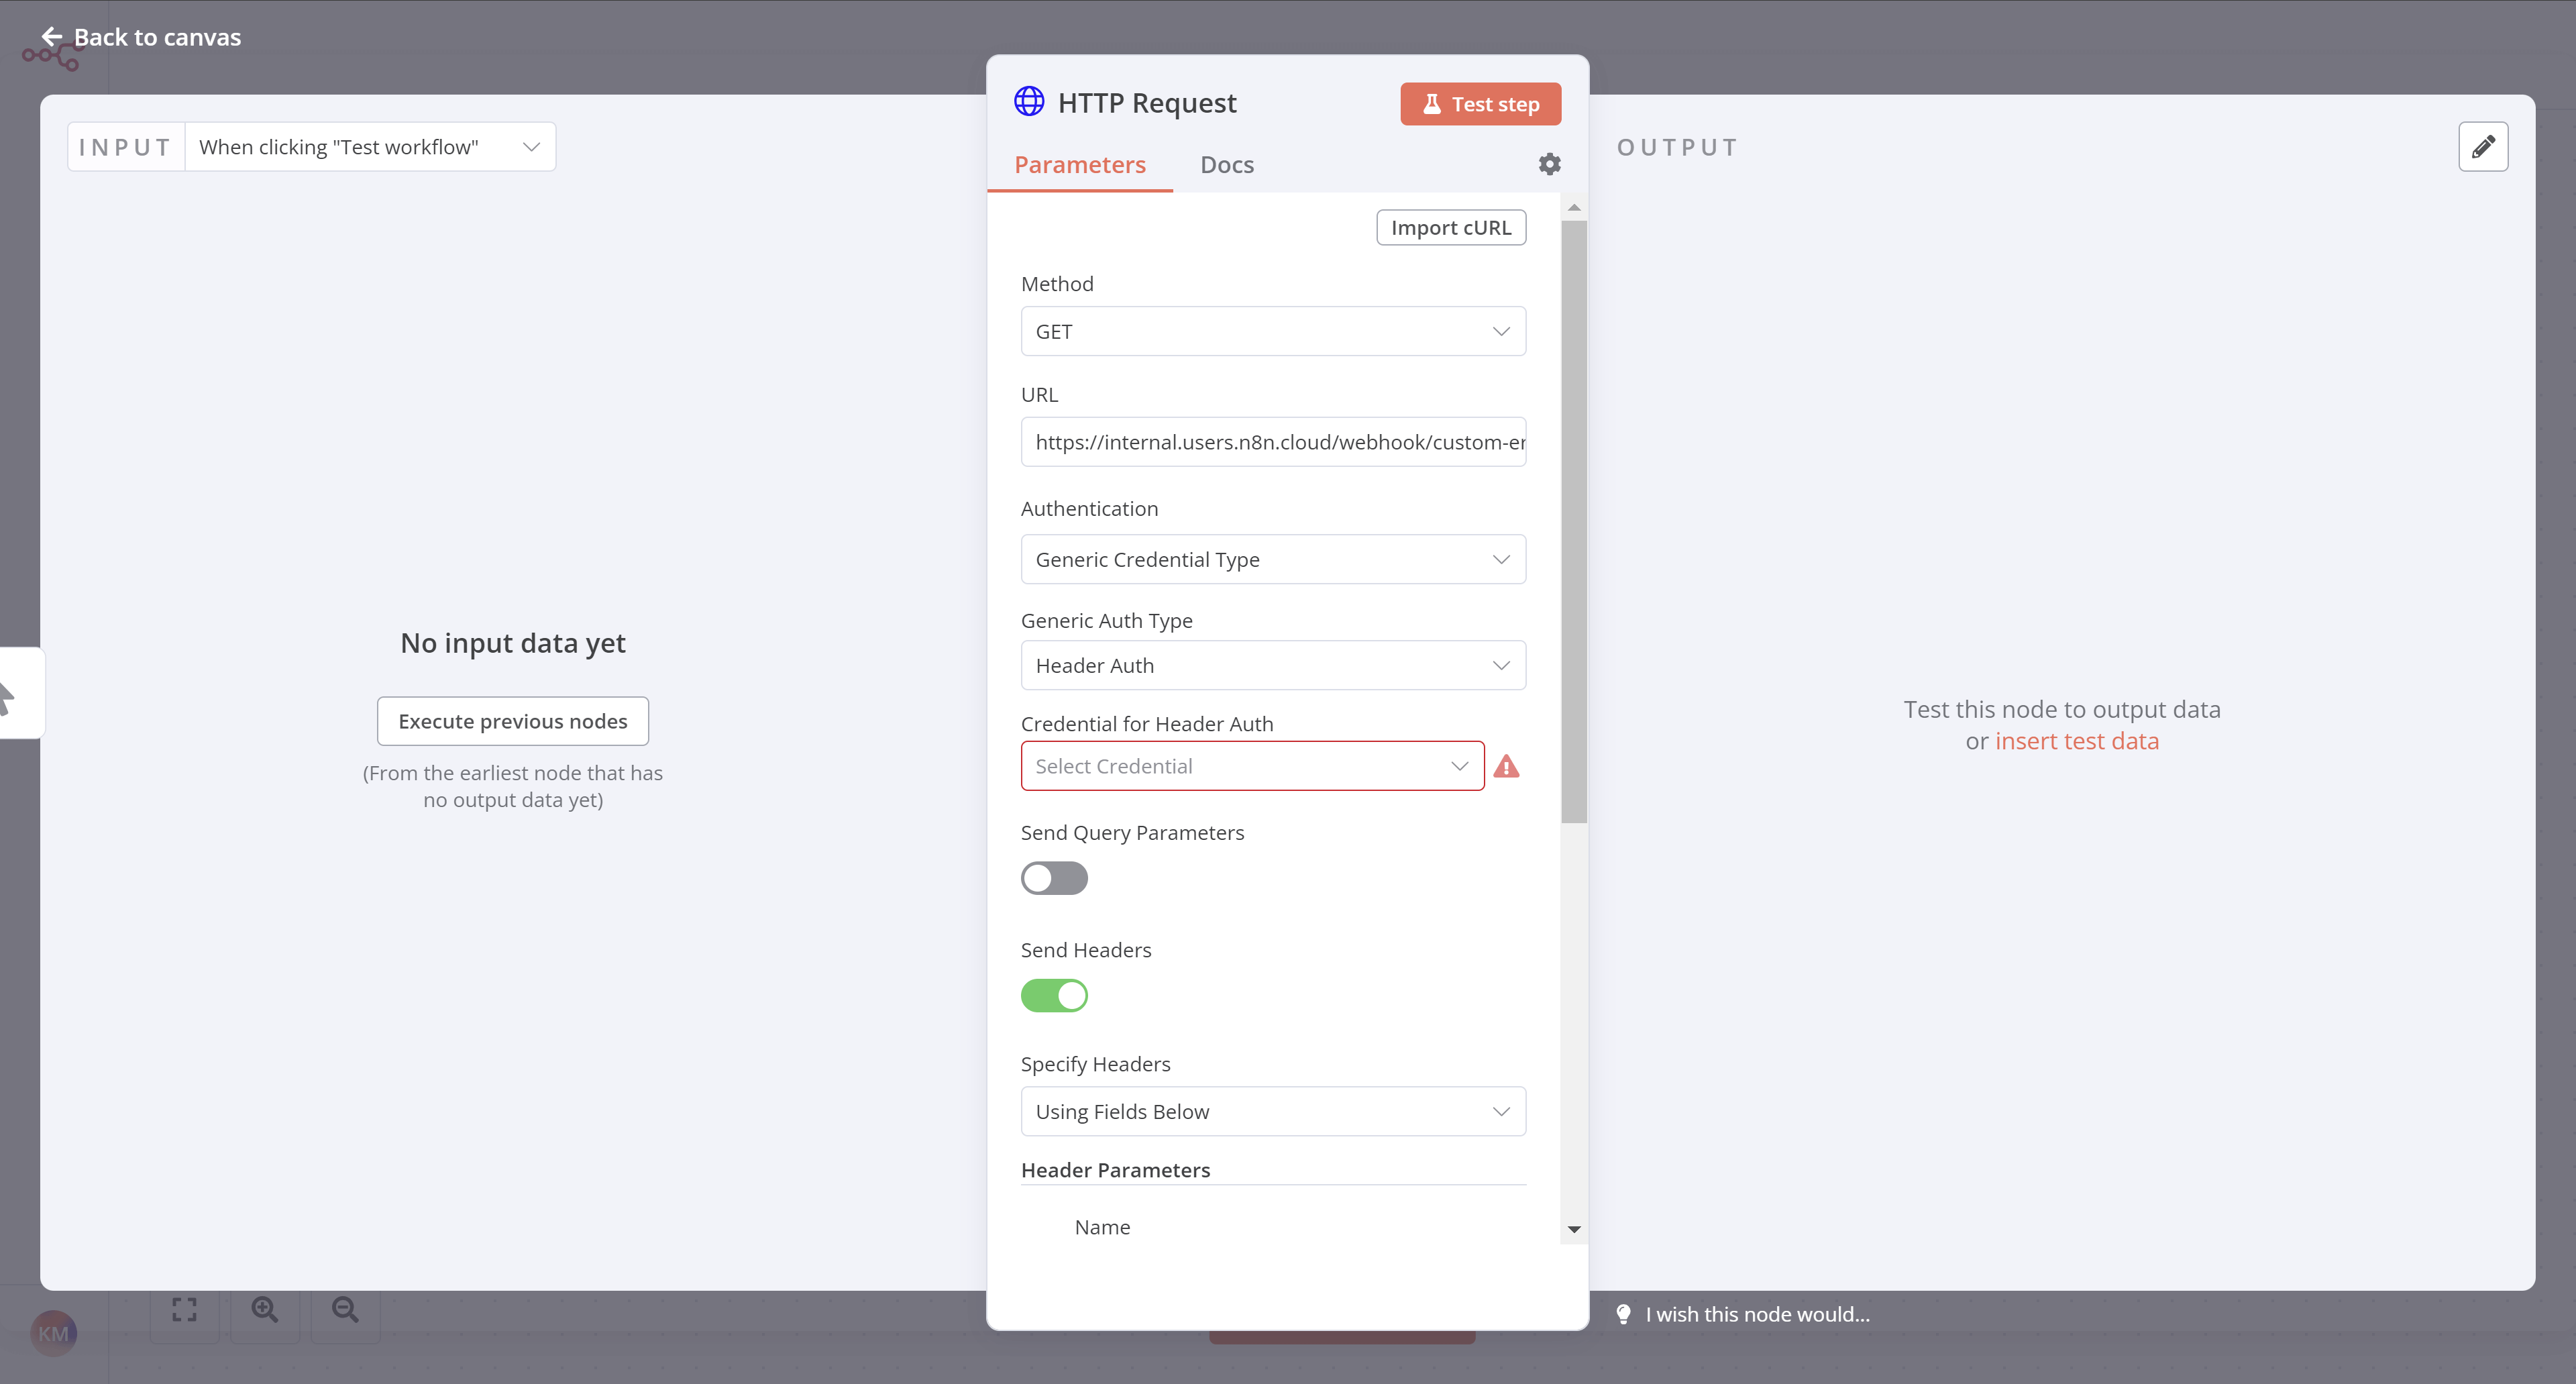
node นี้จะใช้ credentials
Credentials
Credentials คือข้อมูลเฉพาะที่ระบุ user หรือ service และอนุญาตให้เข้าถึง apps หรือ services (ในกรณีของเรา แสดงเป็น n8n nodes) รูปแบบทั่วไปของ credentials คือ username และ password แต่อาจอยู่ในรูปแบบอื่นได้ขึ้นอยู่กับ service
ในกรณีนี้ คุณจะต้องใช้ credentials สำหรับ ABCorp data warehouse API ที่รวมอยู่ในอีเมลจาก n8n ที่คุณได้รับเมื่อคุณสมัครเข้าร่วมคอร์สนี้ หากคุณยังไม่ได้สมัคร sign up here
ใน Parameters ของ HTTP Request node ให้ทำการปรับเปลี่ยนต่อไปนี้:
- Method: This should default to GET. Make sure it's set to GET.
- URL: Add the Dataset URL you received in the email when you signed up for this course.
- Send Headers: Toggle this control to true. In Specify Headers, ensure Using Fields Below is selected.
- Header Parameters > Name: Enter
unique_id. - Header Parameters > Value: The Unique ID you received in the email when you signed up for this course.
- Header Parameters > Name: Enter
- Authentication: Select Generic Credential Type. This option requires credentials before allowing you to access the data.
- Generic Auth Type: Select Header Auth. (This field will appear after you select the Generic Credential Type for the Authentication.)
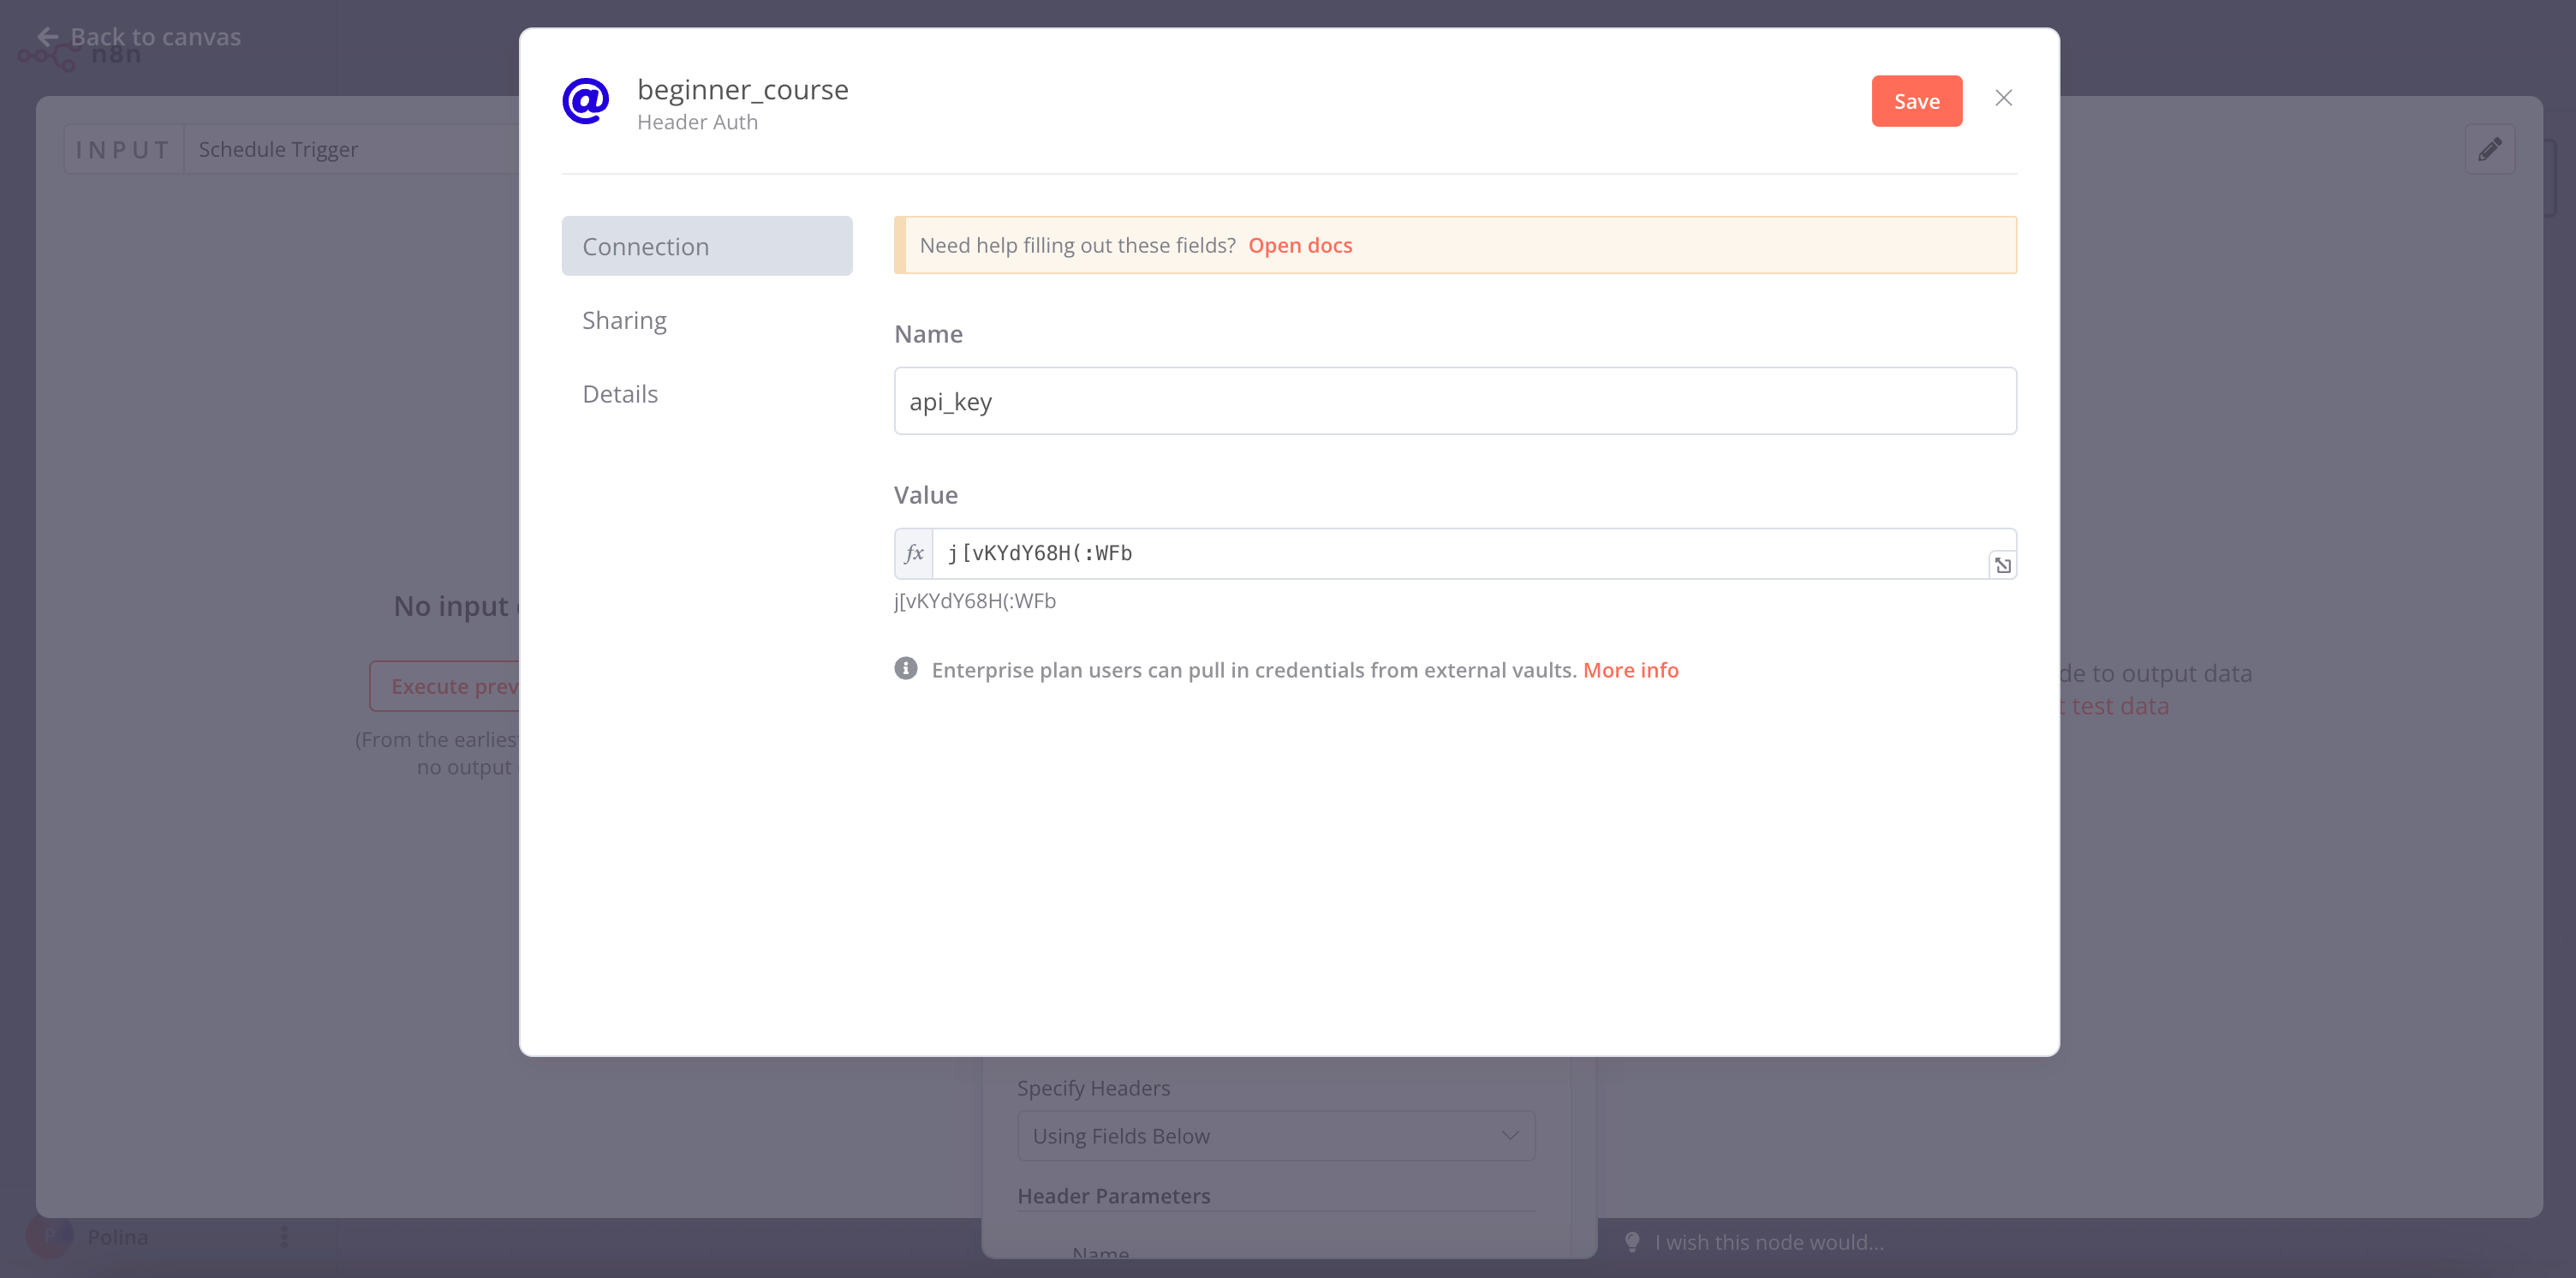
- Credential for Header Auth: To add your credentials, select + Create new credential. This will open the Credentials window.
- In the Credentials window, set Name to be the Header Auth name you received in the email when you signed up for this course.
- In the Credentials window, set Value to be the Header Auth value you received in the email when you signed up for this course.
- Select the Save button in the Credentials window to save your credentials. Your Credentials Connection window should look like this:
HTTP Request node credentials
Credentials naming
ชื่อ credential ใหม่จะเป็นไปตามรูปแบบ "
เมื่อคุณบันทึกแล้ว ให้ออกจากหน้าต่าง Credentials เพื่อกลับไปยัง HTTP Request node
Get the data#
เลือกปุ่ม Test step ในหน้าต่าง HTTP Request node มุมมองตารางของผลลัพธ์ HTTP request ควรมีลักษณะดังนี้:
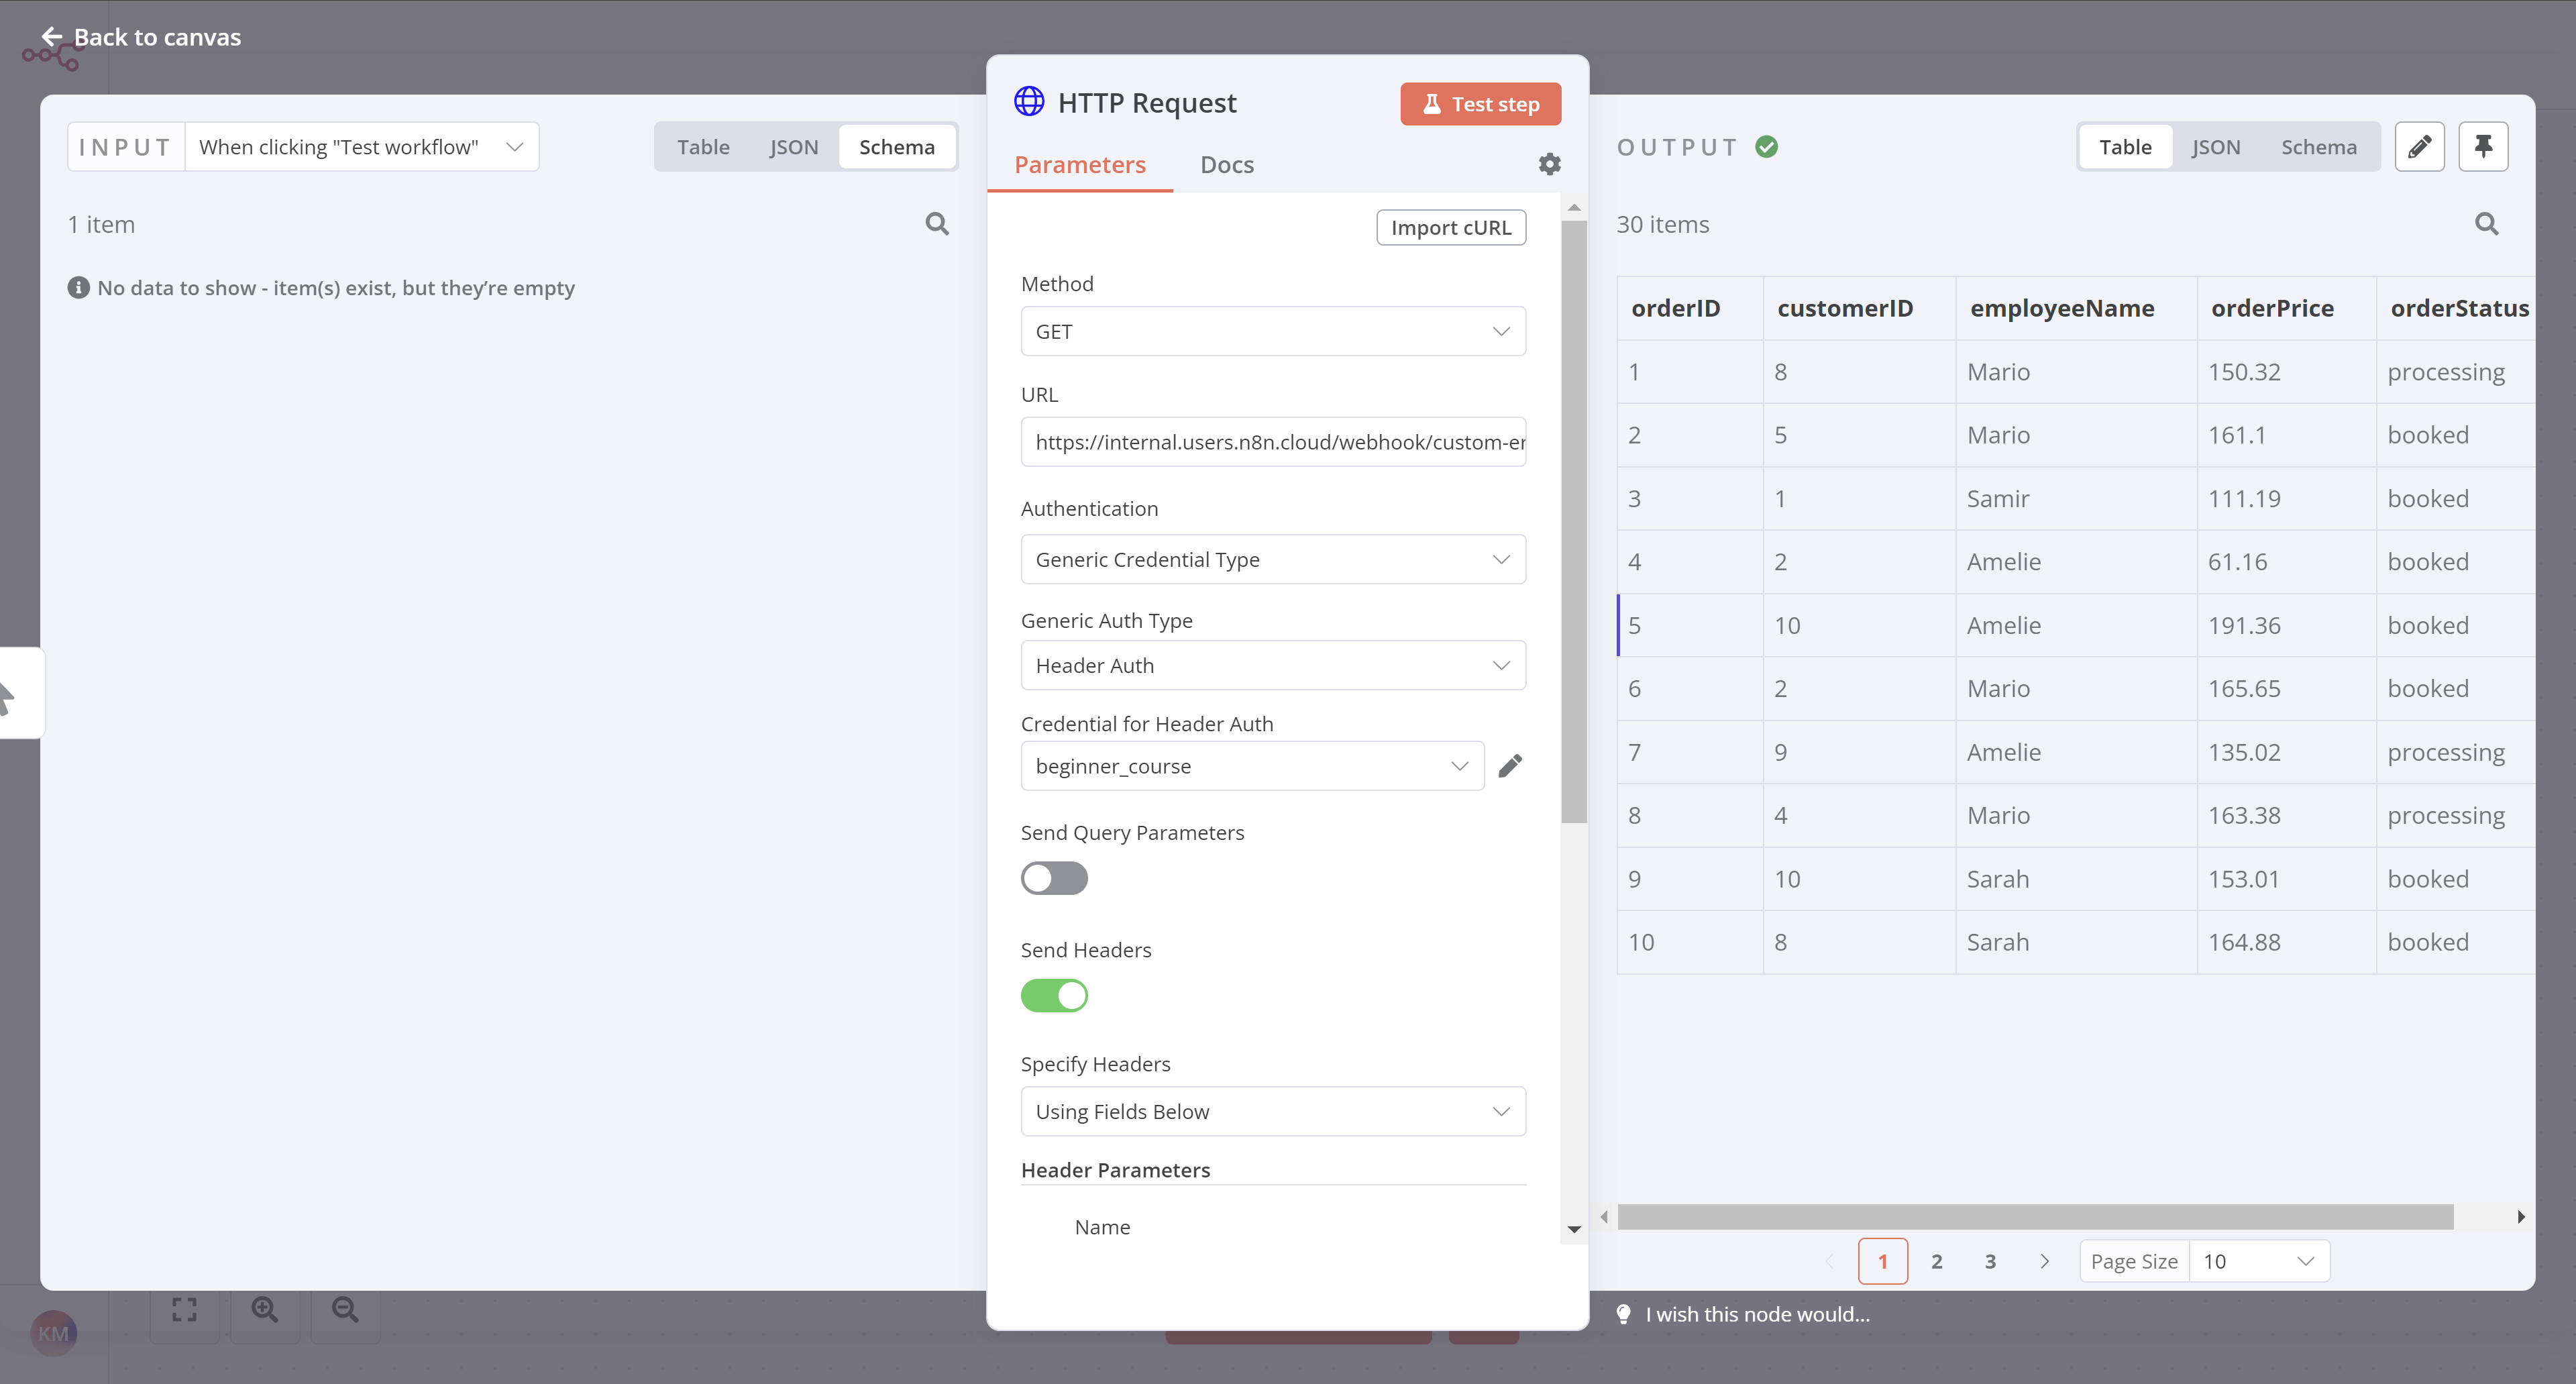
มุมมองนี้ควรจะคุ้นเคยกับคุณจากหน้า Building a mini-workflow
นี่คือข้อมูลจาก data warehouse ของ ABCorp ที่ Nathan ต้องใช้ทำงานด้วย ชุดข้อมูลนี้รวมถึงข้อมูลการขายจากลูกค้า 30 ราย โดยมีห้าคอลัมน์:
orderID: The unique id of each order.customerID: The unique id of each customer.employeeName: The name of Nathan's colleague responsible for the customer.orderPrice: The total price of the customer's order.orderStatus: Whether the customer's order status isbookedor still inprocessing.
What's next?#
Nathan 🙋: เยี่ยมมาก! คุณ automate ส่วนสำคัญของงานของฉันไปแล้วด้วย node เพียงตัวเดียว ตอนนี้แทนที่จะต้องเข้าถึงข้อมูลด้วยตนเองทุกครั้งที่ฉันต้องการ ฉันสามารถใช้ HTTP Request Node เพื่อรับข้อมูลโดยอัตโนมัติได้
You 👩🔧: ถูกต้อง! ในขั้นตอนถัดไป ฉันจะช่วยคุณอีกขั้นหนึ่งและแทรกข้อมูลที่คุณดึงมาลงใน Airtable